
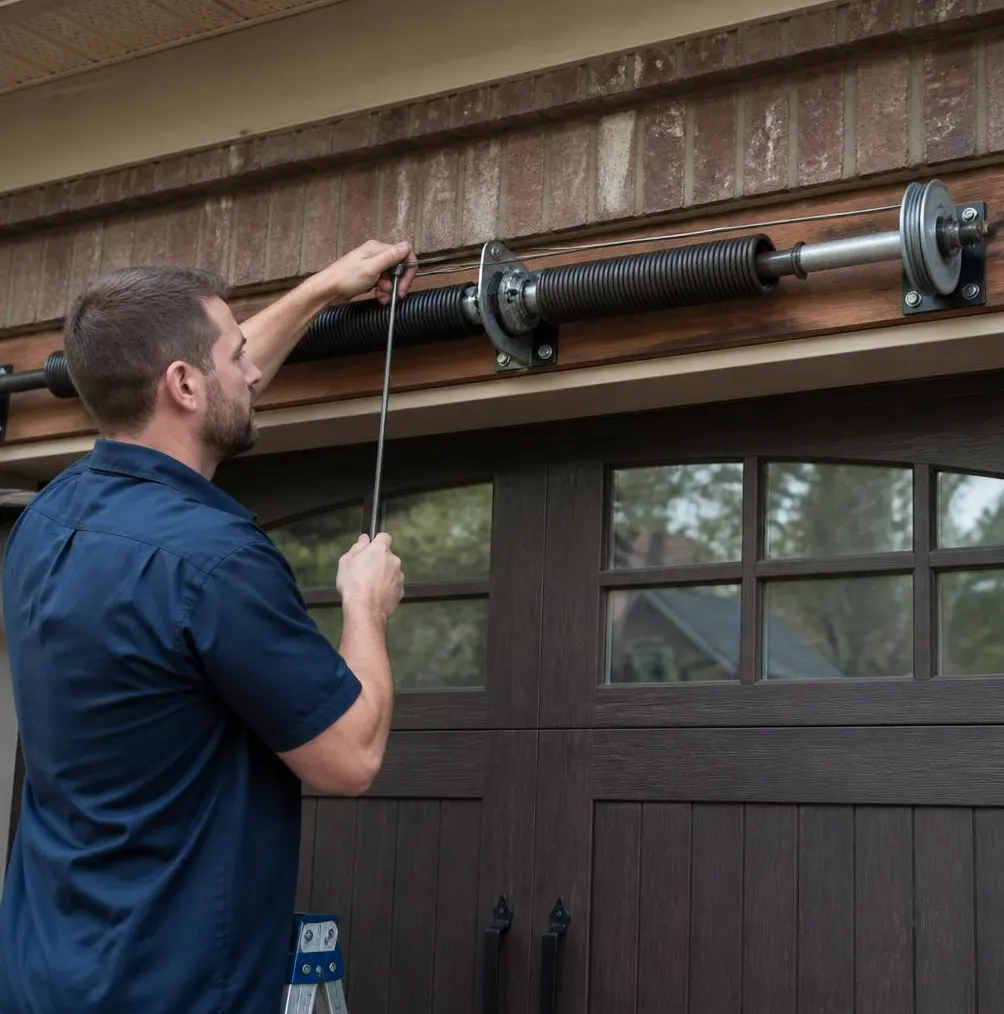
The short answer
Once a season, grab a flashlight, a wrench, and a can of silicone lubricant, and spend twenty minutes walking your garage door through nine quick checks: visual inspection, balance test, auto-reverse test, roller and track inspection, lubrication, hardware tightening, weatherstripping check, track cleaning, and a listen-test during a full open-close cycle. Do this at the start of each season and you'll catch the small problems — rust spots, loose bolts, a sagging seal — before salt air and humidity turn them into a stuck door or a snapped spring.
Here's why this matters more here than almost anywhere else: the combination of salt air, constant humidity, and swings from hurricane-season soakings to drier winter stretches is hard on a garage door's moving parts. Metal corrodes faster near the coast. Wood panels swell and shrink with moisture. Tracks collect grit that wears down rollers. A seasonal check is the cheapest insurance you have against an opener that strains, a door that binds, or hardware that lets go at the worst time.
Tools you'll need
- Flashlight or headlamp
- Silicone-based garage door lubricant (avoid grease or WD-40, which attract dust and grit)
- Clean rags
- A socket wrench or adjustable wrench
- A soft-bristle brush for cleaning tracks
- A 2x4 block of wood or a full roll of paper towels for the auto-reverse test
The 20-minute routine
- Walk the door and look. Check every panel for dents, rust streaks, warping, or gaps at the seams. Salt air shows up first as small rust blooms near bolts and hinges — catch it early and a wipe-down and touch-up paint can stop it from spreading.
- Test the balance. Pull the manual release cord to disconnect the opener, then lift the door by hand to about waist height and let go. A properly balanced door stays put. If it drifts up or crashes down, the springs are compensating poorly for the door's weight — that's a sign of spring wear, not something to force.
- Run the auto-reverse test. Place the wood block or paper towel roll flat on the ground in the door's path, then close the door using the opener. It should reverse immediately on contact. If it doesn't, stop using the opener until this is fixed — it's a safety issue, not a convenience one.
- Inspect rollers and tracks. Shine the flashlight along both tracks. Look for rust, dents, or gaps where the track has pulled away from the wall. Spin each roller by hand — it should turn smoothly without wobbling or grinding.
- Lubricate the moving parts. Apply silicone lubricant to hinges, roller stems, and the springs themselves (not the nylon rollers — lubricant on nylon just attracts grit). Wipe off excess with a rag so it doesn't drip onto the floor or your car.
- Tighten loose hardware. Humidity and vibration work bolts loose over time. Go hinge by hinge and bracket by bracket with the wrench, snugging anything that's shifted. Don't overtighten — just firm.
- Check the weatherstripping. Look at the rubber seal along the bottom of the door and the vinyl strips along the sides. Cracked, brittle, or gapped seals let in humid air, bugs, and water during afternoon downpours. Replacement strips are an easy DIY fix if you catch it early.
- Clean the tracks. Wipe down built-up salt residue and dust with a rag, then brush out any debris sitting in the track channel. A clean track reduces strain on rollers and the opener motor.
- Listen through a full cycle. Reconnect the opener and run the door open and closed once, standing clear. Grinding, popping, or a scraping sound along the track usually points to a roller or alignment issue worth noting, even if the door still functions.
Where homeowner maintenance ends
Everything above is safe for a homeowner to do with basic tools and about twenty minutes. What's not a DIY job: anything involving the torsion or extension springs themselves — replacing, adjusting, or re-tensioning them. These are under extreme load and have caused serious injuries to homeowners who try to handle them without the right bars and clamps. The same goes for cable work, a door that's come off its tracks, or an opener that's grinding, reversing randomly, or not responding to the remote at all. If your balance test or auto-reverse test fails, that's your cue to stop and call a technician rather than keep testing it yourself.
When to call Tavernier Garage Door Service
If your seasonal check turns up a door that won't stay balanced, hardware that's rusted through, or an opener that's struggling more than it used to, that's worth a call rather than another round of lubricant. We handle Garage Door Spring Repair for doors that are out of balance or making that telltale sagging sound, and our Garage Door Maintenance & Tune-Up service covers the deeper inspection — track alignment, cable tension, opener calibration — that goes beyond what a homeowner can safely check in twenty minutes. We serve Tavernier, Key Largo, Islamorada, Plantation Key, Windley Key, Layton, Marathon, and Duck Key, and we show up on time and explain exactly what we find.
If this season's check turned up something that doesn't look right, give Tavernier Garage Door Service a call — we're your neighbors in the Upper Keys, and we'd rather fix it now than have it fail on you later.